














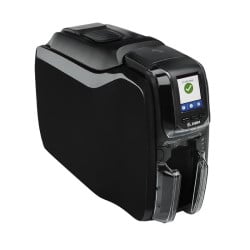
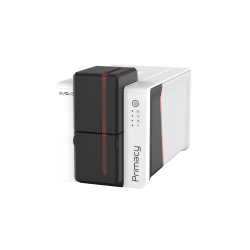
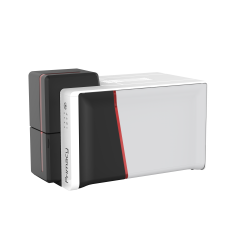
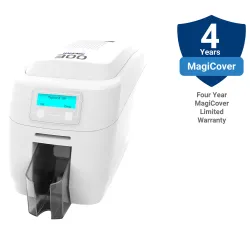
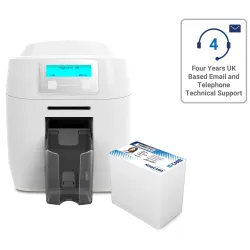





























In short: You can print Paxton Net2 cards yourself on a direct to card ID card printer. Paxton confirms that dye sublimation ID card printers which print direct to plastic work with Net2 ISO cards. Net2 Lite offers a fixed card layout with a background image and four custom text fields. Net2 Pro adds the Net2 Card Designer for full templates with logos, photos and live user data. Either way the Print card button appears on the user record once printing is set up.
To print Paxton Net2 cards well you need the right card, a suitable printer and a template. This guide follows Paxton's Net2 card printing application note step by step. It explains which Paxton cards to use, how to set up a template and how to send a card to the printer.
Which Paxton Net2 cards can you print?
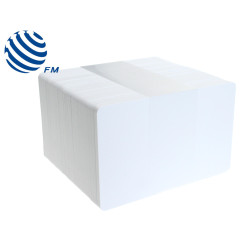
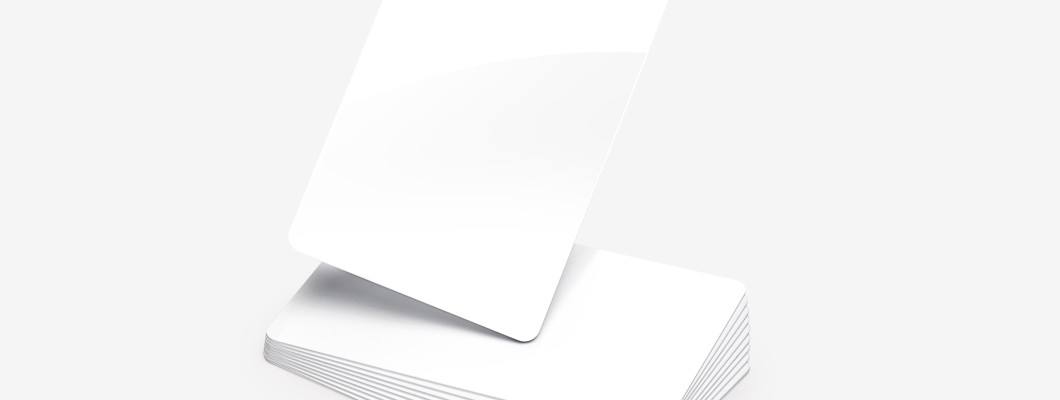
Net2 card printing is built around ISO cards, the standard 86 x 55mm credit card format. The printable options we stock are:
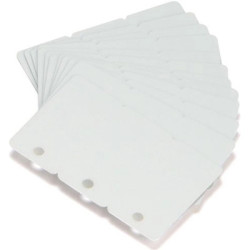
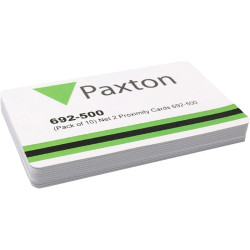
- Net2 ISO proximity cards 692-500 in packs of 10 or the 692-052 pack of 500. These have no magnetic stripe or signature strip.
- Net2 ISO proximity cards with magstripe 692-448 or the pack of 500, 692-053, for sites that also swipe cards.
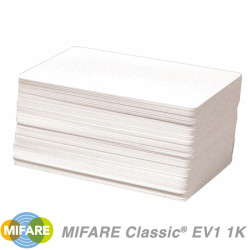
- The printable Paxton Net2 MIFARE card 692-148, for doors with MIFARE capable readers.
Keyfobs, WatchProx tokens and clamshell cards are not ISO cards. The clamshell card, for example, is 2mm thick against 0.85mm for an ISO card.
What printer do you need to print Net2 cards?
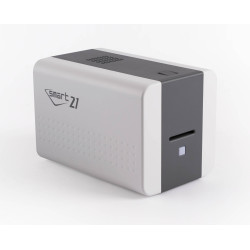
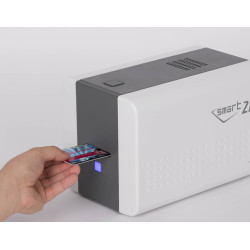
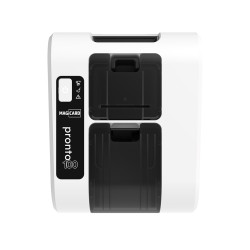
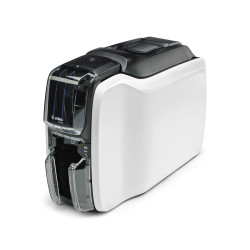
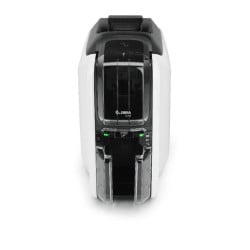
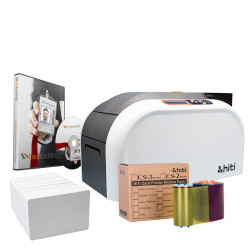
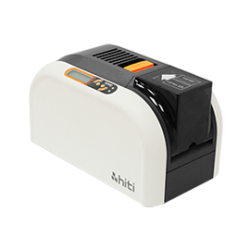
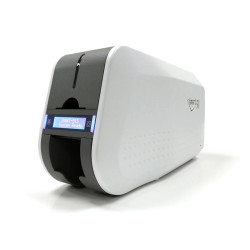
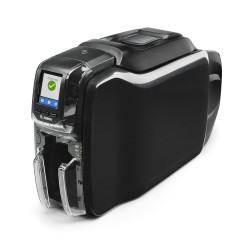
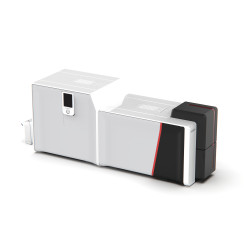
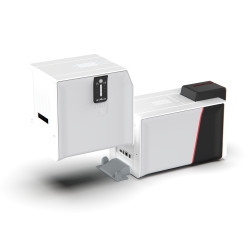
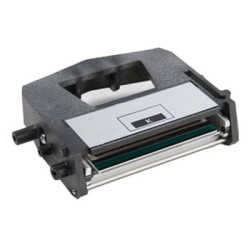
Net2 can send a card to any Windows printer set up on the PC or reachable over the network. To print directly onto the plastic card you need a dye sublimation ID card printer, which Paxton confirms works with Net2 ISO cards.
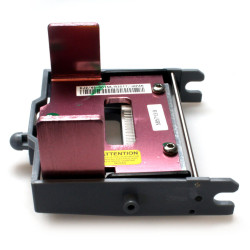
Browse our ID card printers and matching printer ribbons. If you are deciding whether to print both sides, our guide to single-sided vs double-sided ID card printers walks through the trade-offs.
How do you set up card printing in Net2 Lite?
Net2 Lite uses a fixed layout that you configure from a tab in the Options menu.
- Open Options and go to the card printing tab.
- Choose the card printer from the Windows printers installed.
- Pick portrait or landscape. The preview changes to match.
- Tick Background image and browse to a .bmp, .jpg, .gif or .wmf file. The image stretches to fill the card, so keep it at roughly 1.6:1 to avoid distortion.
- Set up the four custom text fields. Each one prints either a field from the user record (the name, for example) or fixed text that is the same on every card.
- Use the margin controls to fine-tune the position if your printer places the design slightly off.
How do you create a template in the Net2 Card Designer?
The Card Designer comes with Net2 Pro.
- Open the Card Designer. On a workstation you are asked to choose the server that holds your Net2 database. Templates are saved in that database.
- Set your options. Click the Paxton icon, then Options. Select the card printer and the colours and font size for the drafting aids.
- Start a template. Choose New from the File menu, select a token type and give the template a name.
- Add the background. Right-click the card and choose Properties. Most items are edited the same way.
- Add static content. Drag items such as the company name or logo from the Static Content menu onto the card. Images can be wmf, bmp, jpg or gif.
- Protect the stripe or chip. Drop a Blank Area object over the magnetic stripe or smart chip area. Nothing else can be placed there, so the printer does not print over it.
- Add live content. Drag fields such as name, department and access level from Live Content. Personal details such as address or car registration sit under Live User Fields.
- Line things up. Use the grid, snap lines and the Move and Alignment buttons. Ctrl-click to select several items at once.
- Test with live data. Select Live Data, click a field and choose Go to longest to load the longest real entry. This shows whether long names fit.
- Restart the server. After you create your first template, stop and restart the Net2 server so the main software picks it up.
Templates can be exported and imported as XML files to move them between Net2 PCs.
How do you assign a template to users?
Each user record needs a template. You can set it on the user's Tokens tab or for a whole department at once. To do a department, right-click it in the tree view and open Properties. This updates the records that exist now but does not become the default for future members.
To make a template the default for a type of user, set it as the default card template in a token type. New users created with that token type then pick it up.
How do you print Paxton Net2 cards from a user record?
- Open the user's record or the Add User window.
- Click Print card at the bottom of the window.
From Net2 v4.11 onwards a template also has to be specified in the software before a card will print.
How do you add photos for Net2 ID cards?
Use Get Picture on the user record to import a photo in bmp, jpg, gif, wmf or emf format. A webcam on the Net2 PC adds a Capture Picture button once the Net2 server (v4.11 or later) is restarted, with no further set-up. Captured images are reduced to 668 x 336 pixels.
What about data protection?
Only operators with standard permissions can use the live data preview in the Card Designer. Custom operators, such as those set up for Landlord Tenant, cannot use it because of GDPR rules on access to personal data. For advice on handling printed cards and used ribbons, see our guide to GDPR and ID card printing.